Guides
Getting started with a password manager
Password managers solve one of the most common and consequential security problems, password reuse. This guide walks you through getting set up, whether you choose Bitwarden (cloud-synced) or KeePassXC (local-only).
Before you start, the master password
Both options require a master password, a single password that unlocks everything else. Choose it carefully.
A good master password is
- Long (at least 16 characters, longer is better)
- Something you haven't used anywhere else
- Something you can remember without writing it digitally
A passphrase works well, four or more random words strung together. "correct horse battery staple" is the famous example, it's long, memorable, and hard to guess. Generate your own from genuinely random words, not a meaningful phrase.
Write it down on paper. Store that paper somewhere physically secure, not with your computer, not photographed on your phone. If you forget your master password, neither Bitwarden nor KeePassXC can recover your data. The paper is your backup.
Option A, Getting started with Bitwarden
Step 1: Create an account
Go to bitwarden.com and create a free account. You'll need an email address and your master password.
Bitwarden doesn't hold your master password, it derives an encryption key from it. Even if Bitwarden were breached, attackers would get encrypted data they can't read without your master password.
Step 2: Install the browser extension
Go to the browser extension store for your browser and install Bitwarden Password Manager. Log in with your account credentials.
The extension is what enables auto-fill on websites. When you visit a login page, the Bitwarden icon lights up if you have credentials saved. Click it and it fills the form.
Step 3: Install the mobile app
From your device's app store, install Bitwarden. Log in with the same account. Your vault syncs automatically, the same passwords are on every device.
In your phone's settings, enable Bitwarden as an autofill provider. On iOS, Settings → Passwords → AutoFill Passwords → Bitwarden. On Android, Settings → Passwords, or through Accessibility settings depending on version.
Step 4: Enable two-factor authentication
In Bitwarden's web vault (vault.bitwarden.com), go to Settings → Security → Two-step login. Set up an authenticator app as your second factor.
This means that even if someone gets your master password, they also need your phone to log in.
Save the recovery code that Bitwarden provides. This is your backup if you lose access to your authenticator. Print it or write it down, keep it with your master password backup.
Step 5: Start using it
You don't need to migrate every password at once. Start by letting Bitwarden save passwords naturally as you log into things. When a login page appears, click the Bitwarden icon and save the entry.
Gradually replace weak or reused passwords using the built-in generator (in the extension or vault, look for Generator). Start with the most important accounts, email, banking, anything with financial access.
Option B, Getting started with KeePassXC
Step 1: Download and install
Go to keepassxc.org and download the version for your operating system. Verify the signature if you're comfortable with that, the site explains how.
Install normally.
Step 2: Create a database
Open KeePassXC. Click Create new database. Follow the wizard
- Give your database a name
- Set encryption settings, the defaults are fine
- Add a master password, this is the most important step
You'll be asked to choose a location for the .kdbx file. Choose somewhere you'll remember, your Documents folder is fine. This file is your password database.
Step 3: Add a backup location immediately
Before adding any passwords, back up the empty database file. Copy the .kdbx file to
- An external drive
- A second location on your computer
- A cloud folder if you use one (the file is encrypted, cloud storage only sees ciphertext)
Make a habit of updating the backup after adding entries. Losing the database file means losing your passwords.
Step 4: Install the browser extension
In KeePassXC, go to Tools → Settings → Browser Integration. Enable browser integration and select your browser.
Then install KeePassXC-Browser from your browser's extension store. When you visit a login page, the extension communicates with the desktop app (which must be open) to auto-fill credentials.
Step 5: Start using it
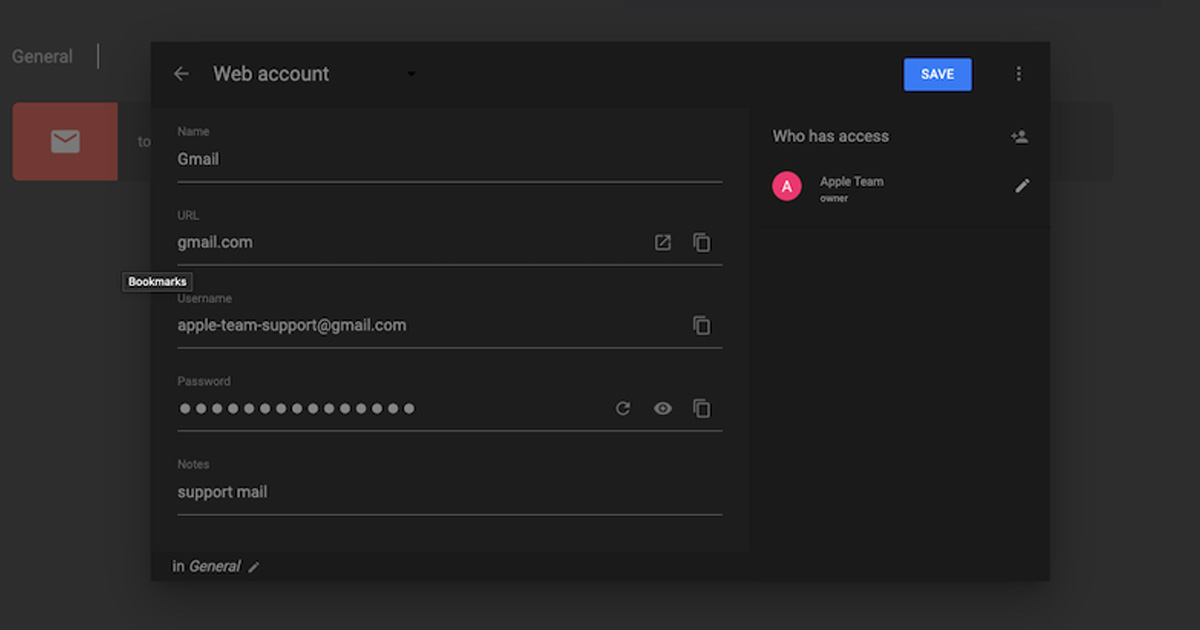
Right-click in the main KeePassXC window and choose Add new entry to add a login. Fill in the title, username, password, and URL.
Use the built-in password generator (the dice icon next to the password field) to create strong generated passwords. Replace existing passwords with generated ones as you go, start with the most important accounts.
What to migrate first
Whichever option you choose, prioritise these accounts
- Email, this is the recovery address for almost everything else
- Banking and financial accounts
- Work accounts or anything with professional consequence
- Accounts where personal information is stored
Everything else can follow gradually. Using a manager for your most important accounts is already a meaningful improvement over using weak or reused passwords for them.
Common questions
Do I need to change all my passwords right away?
No. Start by saving existing passwords as you log in, then replace them with generated ones when it's convenient. The goal is unique passwords for everything, but you can get there over time.
What if I forget the master password?
Neither service can recover it. The paper backup you made is your only option. This is intentional, the encryption only works if the provider can't access your data.
Is saving passwords in the browser not enough?
Browser-saved passwords are convenient, but they're less secure, not encrypted with a dedicated master password, tied to your browser profile, and difficult to use across different browsers or devices. A dedicated password manager is better.

Foldy tip
Getting a password manager set up is one of the best hours you will spend on privacy.
Related pages
 Bitwarden
 KeePassXC
 Bitwarden vs KeePassXC
 Encryption, what "encrypted vault" actually means